The oak is through the planer - isn't that some kind of old country saying? Like "when the frost is on the pumpkin it's time for peter dunkin"? The stem laminations are ready to bend and the rest of the 5/4 and 4/4 planks are ready to cut into stems. Bust out the lofting board and let's go!
The lofting board has half of the frame drawn onto it. I want to notch down in the middle of each frame for the keel, so for each frame I need to figure out how wide the keel is supposed to be in that part of the boat, add a centerboard space, and add that length to the overall frame width. Be sure to account for the other half of the frame as well.
Frames are drawn on the lofting board to the outside edge of the frame, where the plywood attaches. Boatbuilding is such a surreal 3D process - pencil lines have to become the edge of a board with no width defined, just an edge. And even that edge is going to get planed to an angle so it makes flat contact with a bent piece of plywood - imagining the finished frame by looking at a pencil line on a piece of plywood is intimidating.
 |
| The first frame! |
 |
| So proud |
Frame 1 is the closest to the stem, so there is a crowned cross bar on top. These frames actually have 6 sides. The top is actually the last piece to cut. After starting with a straight edge, I cut it to length and then trimmed half an inch down from the top and used a batten to create a fair bend from the center to the edge. This will have to support the deck between the mast and the bowsprit, so a gentle curve will let water roll off. The bottom piece has to be really thick to support the weight of the boat, so I cut all of those from 5/4 material. It actually contains what I called 3 of those sides before - there is a center point that is flat and as wide as the keel for notching. Then from each side of that keel side mark, use the lofting board to pull that angle together. So 3 sides on the bottom. Then you can cut the side pieces with angles. After everything lines up with the lines drawn on the lofting board, glue and screw all of the pieces together. wham bam, frame.
 |
| Frame 2 |
 |
| It's a bit wider |
Frame 2 and frame 5 (the transom) both get plywood backing called a bulkhead. The side pieces on the other frames can leave a void, but with a bulkhead I had to fill in that void with some extra 1x3. The bottom is cut out of a 5/4 (1 1/4" thick) board that was about 6" wide and originally 12' long. Cut the bottom first, I had to use a center block the width of the keel, then cut the angles into the bottom. That will give you the angle and length of the sides, then when they are in place measure and cut the top. Frame 2 also has a top beam with a crown, the mast sits just inside of this frame so it has to support some decking as well as the mast step.
It's important to note that you don't use a tape measure for any of these cuts besides the keel spacer. Everything length and angle gets taken directly from the lofting board! It's such a surreal process.
 |
| Frame 3 - used a piece of scrap 1x3 to hold the bottom in place |
 |
| Frame 3 and 4 don't have a top crossbar so I used these plywood scraps to hold spacers |
 |
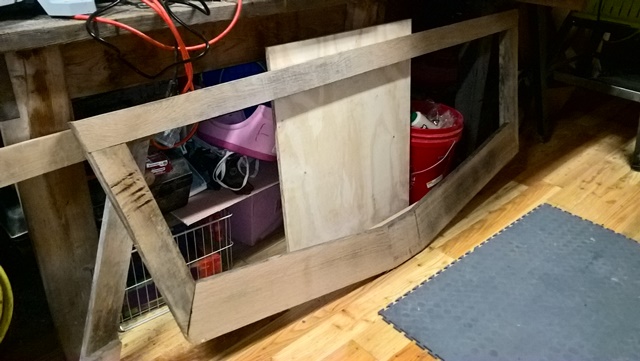
| This looks like frame 5 |
 |
| I might plane these some more later by hand. Still a bunch of gray showing here |
 |
| Lofting board and the frames I built from it |
 |
| All 5 frames on the strongback! |
 |
| Eventually these will be standing upright |
So now the frames are built! I still have to do part 2 of the stem, soaking/bending/gluing/shaping. Then I can attach the frames to the strongback with the stem, and start working on attaching the keel & chines. Then it starts to look like a real hull.
Finishing the frames is an incredibly cool first step!


No comments:
Post a Comment