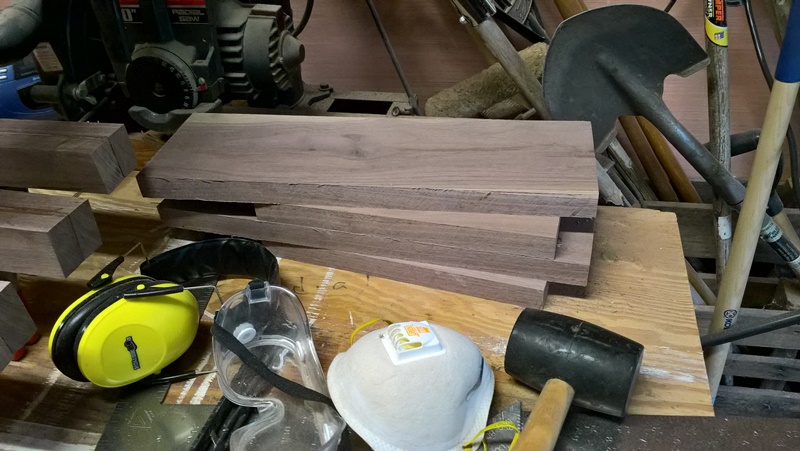
After I had all of the boards cut up to rough length for the parts that I needed, everything easily went through the planer. I planed from 5/4 down to 1" thick. I tried to go thinner than that, but the planer just didn't want to cooperate. So this post is how I was able to shape the pieces into what I needed.
First I had two lengths of the board cut to size for the legs. Since I wanted 2" thick legs, I had to rip the boards into 8 pieces the same width (ended up being about 2 1/4"), then gluing them together to create four leg blanks.
 |
| Glued up and in the spring clamps |
 |
| 4 legs, 8 pieces |
I had to get the glue joints exactly flat. I did this with a hand plane and the stationary sander. When they came out of the clamps they got the same treatment - planer and stationary belt sander. In the end you could not tell there was a glue joint there at all.
The top is extremely important to get a tight glue joint. I had to pick the best faces of two boards that work together to create one seamless top, then have the grain pattern look seamless so it doesn't create a jagged appearance. Then the glue joint has to be super tight. Any gap in the top will be incredibly visible. I used biscuits to ensure that the joint is flush, planed the edges flat, and put it all on the belt sander to be sure I had a smooth connection.
 |
| Top is glued up! |
 |
| Damn! I still have a small gap on the end |
You can see the grain pattern looks seamless across the joint, but there is still a gap on one end. I used a boatbuilding technique called a fillet to take care of that. Mix some sawdust collected from the belt sander with glue (I used Titebond III here, but use epoxy when you're working on a boat) until it thickens to the consistency of peanut butter. Use a scrap stick or something to force the mix into the gap, then sand it smooth when it dries. Since the color is actually the same as the regular wood, it makes the gap disappear.
Next I went for the sides. When the top and legs were out of the clamps, I started by picking the top of the top, then I could draw on the bottom. Didn't get a good picture of it, but I placed where I wanted the legs to attach so I could cut the sides to the final size. Then I wanted to use mortise and tenon joints to attach the sides to the legs, so I cut those on the table saw.
First I started with the tenons on the sides, cutting those on the table saw. This is an excellent opportunity to make some jigs to hold the boards in place exactly upright for the shoulder cuts, and at a consistent height for the cheek cuts. I did not take that opportunity, and my tenons turned out quite wonky and sloped.
 |
| Cut to length - 2 long and 2 short |
 |
| Tenons cut and on the top |
 |
| Now if only there were legs with mortises |
 |
| There's some legs! All glued up and ready to shape |
 |
| I routed a roundover on the top edges. can you spot the filleted gap now? |
 |
| practically stable |
I drew the outline of the tenons onto the legs where I wanted the mortises to go, then drilled them out on the drill press so I knew I had an exact 90* angle cut in. Squaring those up with a chisel was a lot of uncomfortable manual labor, but getting a snug fit in the end was worth it. I didn't cut mortises for the front because I wanted to make a drawer, so I just kind of let that sit until I could figure it out. But finally when the mortises were cut it finally starts to look like a table.
Also I went ahead and drilled holes for pocket screws using a Kreg jig, and cut a slot for the bottom plywood on the tablesaw.
 |
| Dry fit, with pocket screw holes and a slot cut for a plywood bottom |
 |
| Now with more top. Just a dry fit. |
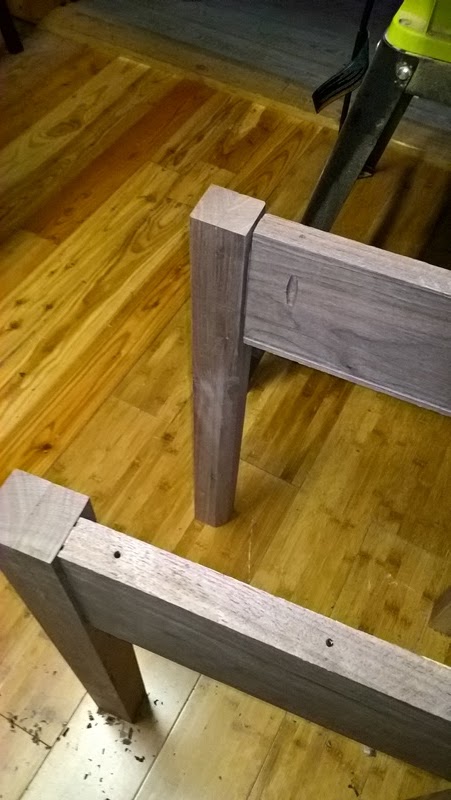
I wanted at this point to shape the legs. The table is a rectangle not a square, but I left some rough wood to build stretchers later and hopefully a shelf down there. Mistakenly, I acted like it was a square and cut some 45* chamfers into the legs. Symmetry is important here in overall table design. I started the chamfer 8" down from the top, so I needed to mount the stretchers 8" up from the bottom of the legs. I only put the chamfers on two sides of each leg, so I had to be sure that the legs were properly oriented on the top at this point. Lots of design decisions at this point.
 |
| Tight glue joint, chamfered two sides |
 |
| With a mortise cut in |
 |
| Dry fit with shaped legs |
From the leftover board that I had saved, first I ripped the two stretchers to width. Then I took the rest of it and cut the thickness down to only 1/2". Then I cut it into thirds to get the width of the shelf. I cut half lap joints (again, thinking I was making a square table - oops) into the stretchers to support the shelf. I wanted to notch the shelf into the stretchers but didn't have enough width for that.
 |
| The bottom shelf all glued up |
 |
| The stretchers |
I cut tenons on the ends of the stretchers, and added mortises 8" up from the bottom of the legs to get that symmetry. Really though, I screwed that up pretty bad. The mortises create a 90* hole in the legs, which is perfect for a square table. The half lap joint is cut again for some angles that might make sense if the table was square. The correct way is to assemble the legs first, and get them stable glued up with the sides. Then measure the stretchers and cut the tenons with the correct angles to the legs. Up next it's time to assemble and finish!


No comments:
Post a Comment