We had demo complete last time, ready to install the new butcher block countertops. These had to be cut and fit precisely in order to get a clean install.
 |
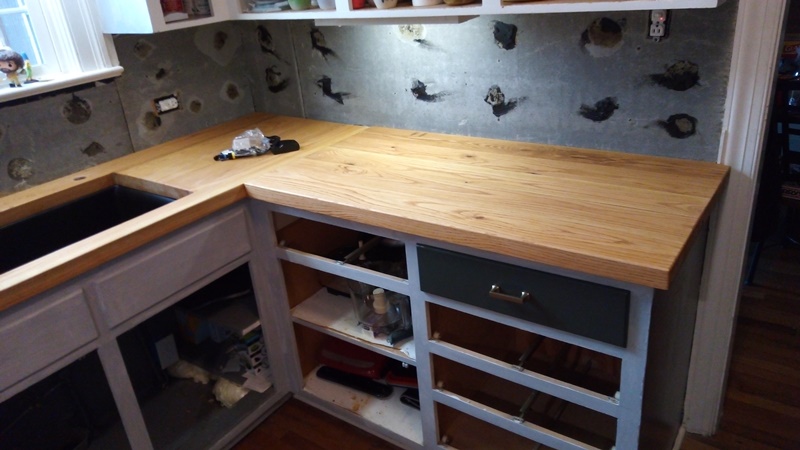
| Dry fit of the largest piece with a sample of the tile, before the hole for the sink was cut out |
 |
| Back outside for some stain - really makes the grain pop |
 |
| This Old Masters stain on the oak was brilliant |
 |
| Sink hole was cut to size, and it's all stained |
 |
| Side piece glued down |
 |
| This small piece beside the stove is finally in too |
 |
| Love how this finally turned out |
 |
| Everything lines up smooth |
 |
| Now with holes for the sink, faucet, and a filter |
 |
| Plumber got the faucet installed |
 |
| New disposal & drain |
 |
| Original vs finished product - quite a difference |
Overall these turned out fantastic. The color and grain are exactly what we wanted, the tile is gone and these butcher block countertops are installed and fantastic. I just glued them down, no mechanical fasteners. There were still some gaps in the joints, those got filled in with glue or caulk.
Update: you can see in that picture that the notch fits around the door jamb nice and flush. These were installed a few months ago, and I still haven't put the tile in, and those air-dried countertops finally dried some more? Now there is a 2" gap between that door jamb and the countertop. I think I'm going to end up replacing these with edge grain countertops anyway.


No comments:
Post a Comment