On the small test roof we're down to the little details. The hard part that I really wanted to work on was building the roof. Framing to shingles is done. Now all the little grunt work to finish the project. like trim. I hate trim. and I'm not very good at it, but I have to come up with something to finish off this thing.
 |
| Me, inside. Note the ceiling joists |
 |
| Hung the beadboard ceiling and light fixture |
 |
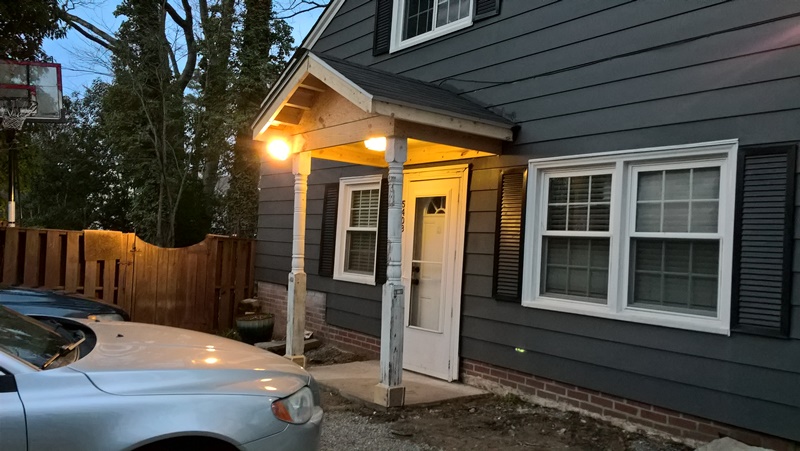
| Now with an exterior fixture too |
 |
| The lights even work! |
 |
| The door trim was half rotten |
 |
| New door trim! |
 |
| Trimming out that corner |
 |
| Added the 1x4 on the bottom of the face and the first 2 boards of fascia |
 |
| Front fascia is done and cut at the ends |
 |
| these cuts on the end of the boards is awkward. Need to come up with a better system for that |
 |
| I ran some of that custom cut cove molding around the beadboard ceiling |
 |
| Even more cove molding |
 |
| I added and cut the side board too. Still weird. |
 |
| It's looking clean, but still have a way to go |
After getting the ceiling joists installed, I was able to tackle the electrical. There was a light above the roof, so I had to drop that cord inside the roof. I added a gang box to the center of the ceiling and an exterior box on the left corner and roughed in wiring. Then after I had the 1x4 around the bottom of the exterior and the beadboard (plywood) ceiling installed I could attach the fixtures. Everything worked!
I made a bunch of cove molding on the router for the front porch. Then I installed it around the base of the posts here, and all around the ceiling too. Installed some 1x6 scraps around the tops of the post and cove molding around that. Lots of cove. Cove everywhere.
I trimmed around the fascia with some leftover 1x8 that I had from the front porch. A complete failure on the tapered columns left me with some boards that were the right size for the job. So I installed to cover the framing around the outside of the rim.
The door jamb was originally half buried in dirt because the original concrete pad was too small. That meant it had some serious rot at the bottom. This size concrete pad fixed half of the problem, but I still had to demo the door frame & trim there, and come up with something else. I measured before demo, and a 1x6 on the sides would give roughly the same width. I had to cut the aluminum siding to put the framing against the house, and still needed some way to cover up the cut edge, so for the top of the door trim I decided to go with this wide angle thing on a 1x8. I think it turned out pretty cool, but different from what anyone else would expect!
So in the next post we'll put on all of the finishing touches


No comments:
Post a Comment