Showing posts with label Butcher Block. Show all posts

Friday, September 3, 2021

Small Butcher Block

 So I forgot to post anything for the entire month of August. I call it Hell Month, because I can't stand the heat so I tend to shrink down into my own pit of despair for a while. At least now it's September, and I'm still writing about projects that I built in March. Yeah, I'm behind on a lot of stuff.

That's a lot of clamps!


Finished product

I added some feet!


To make these, I start by planing a bunch of boards to the same thickness. They have to be exactly the same thickness to get the look right - then I rip them on the tablesaw to 1 7/8" wide. Apply glue liberally to the faces of the boards, and get them in the bar clamps. I use the boards with the grip clamps to keep the top & bottom of the boards aligned. 

After the glue cures, run the board back through the planer to get the top & bottom perfectly smooth. Trim the sides first. Then when you get all 6 sides clean, run the corners through a roundover bit on the router. Then I made some feet out of a scrap strip and glued those onto the bottom. 

Finishing the block starts with sanding through every grit - 80, 120, 180, 220, and 320, then I rub some Butcher Block Conditioner on all surfaces. It usually takes 2 coats of the conditioner, that's an oil and wax mix so it takes a while for the first coat to soak in.

I tried to sell this one, but we ended up taking it up to the mountains when it didn't sell after like 3 months. Kelley loves it!

Friday, April 23, 2021

Butcher Block Countertops

 Now with even more butcher block! I have all of these tiny pieces, time to glue up the last sections. 


All of the sections run through the planer

Gluing the sections together

The big boy, all glued up with a big hole for the sink


Both sections ready to install

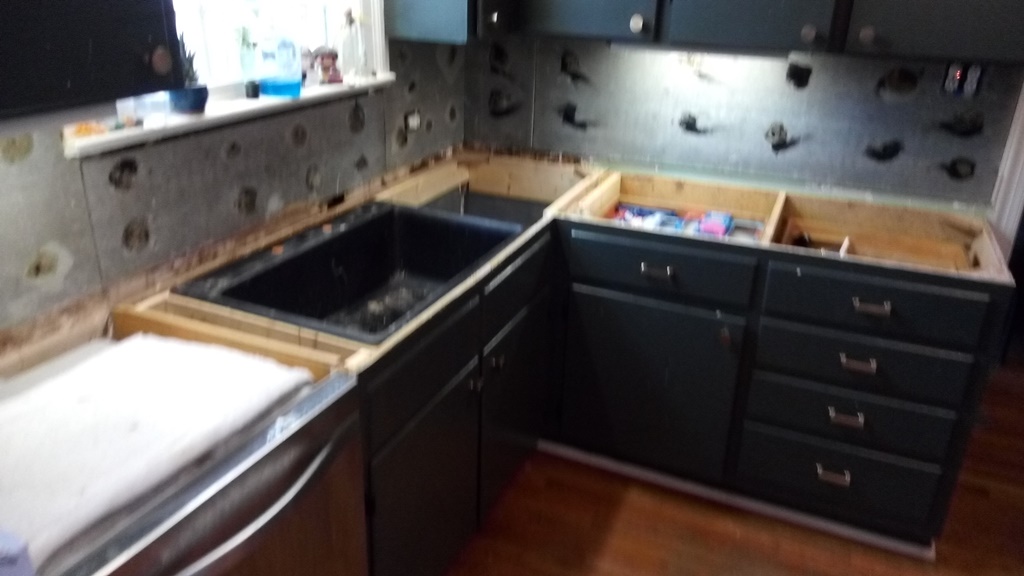
The older countertops turned out very wavy

That joint used to be flush

The back used to meet the wall


Hard to really express how much these boards dried after I got them installed, but this stuff was all flush


New stuff going in!!

It's flat and beautiful


Cool coloring on the maple stripe

These turned out beautiful. They are flat, and everything fits. Most importantly, the wife & kids are able to use them easily and like the look. These turned out great.

Friday, April 2, 2021

Starting more countertops

 I desperately need to replace the rest of my countertops in the kitchen at my house. Better get out the table saw & planer!

Starting to rip these down to 1 7/8" wide


To make these butcher block countertops and cutting boards, I start by ripping the boards down to 1 7/8" wide, a 2" cut minus the kerf of the blade. Then I plane the cuts down to a clean board and consistent thickness. See how wet and raw all of that oak is in the last picture? It starts out as 4/4 rough cut off of the sawmill and comes out of the planer as clean oak.

My butcher block is edge grain glued up from oak, cherry, walnut, hickory, and maple. So get the boards cleaned up and ready to glue, then pick the best edge to stay up. Prepare and glue the faces together, I make sections that are less than 12.5" wide so I can run them through the planer again after the glue cures. 

For this countertop, there are two main sections. I need to start out with boards that are too long so I can trim them to final length after the glue cures. I have to start with 2 sections that are 8' long, and get some other sections glued up to fit around the sink. Then another main build that's about 48" long for the side piece. Stay tuned to see how it comes together!