Showing posts with label Countertops. Show all posts

Friday, April 23, 2021

Butcher Block Countertops

 Now with even more butcher block! I have all of these tiny pieces, time to glue up the last sections. 


All of the sections run through the planer

Gluing the sections together

The big boy, all glued up with a big hole for the sink


Both sections ready to install

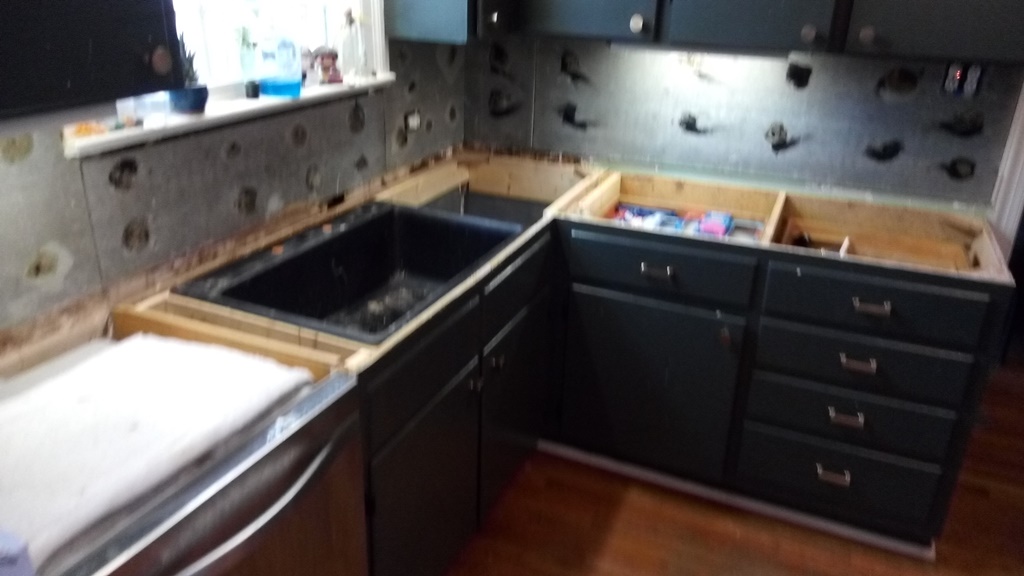
The older countertops turned out very wavy

That joint used to be flush

The back used to meet the wall


Hard to really express how much these boards dried after I got them installed, but this stuff was all flush


New stuff going in!!

It's flat and beautiful


Cool coloring on the maple stripe

These turned out beautiful. They are flat, and everything fits. Most importantly, the wife & kids are able to use them easily and like the look. These turned out great.

Friday, April 2, 2021

Starting more countertops

 I desperately need to replace the rest of my countertops in the kitchen at my house. Better get out the table saw & planer!

Starting to rip these down to 1 7/8" wide


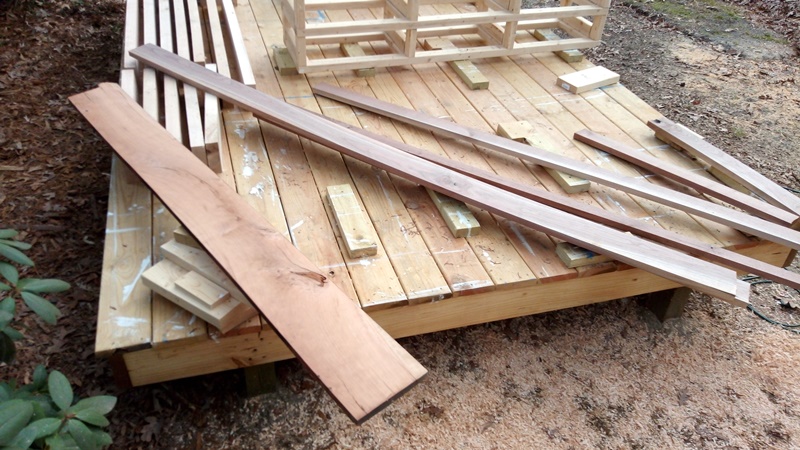
To make these butcher block countertops and cutting boards, I start by ripping the boards down to 1 7/8" wide, a 2" cut minus the kerf of the blade. Then I plane the cuts down to a clean board and consistent thickness. See how wet and raw all of that oak is in the last picture? It starts out as 4/4 rough cut off of the sawmill and comes out of the planer as clean oak.

My butcher block is edge grain glued up from oak, cherry, walnut, hickory, and maple. So get the boards cleaned up and ready to glue, then pick the best edge to stay up. Prepare and glue the faces together, I make sections that are less than 12.5" wide so I can run them through the planer again after the glue cures. 

For this countertop, there are two main sections. I need to start out with boards that are too long so I can trim them to final length after the glue cures. I have to start with 2 sections that are 8' long, and get some other sections glued up to fit around the sink. Then another main build that's about 48" long for the side piece. Stay tuned to see how it comes together!

Monday, December 21, 2020

Butcher Block Countertops

 When I built the butcher block countertops for my kitchen, the wood was too green. It shrunk in strange ways, and created a wavy surface. Bottom line, face grain countertops are not a good idea, at least from green lumber. 

So I decided to cut up some lumber for edge grain butcher block stock. The plan was to cut some to 1 7/8" wide, glue those wide sides together in sections that would still fit through the planer, then glue the sections together so I could get something about 26" deep by 28" wide and at least 1.5" thick.

Starting with a 16' white oak, 10' hickory, and 6' maple boards

cut them down to length & ripped to width first. Added some walnut and dogwood too

Take those sticks, turn on the side, find combination that gives me length/width needed

In the clamps with glue

Planed down, glued the sections together, cut to width, and sanded

added butcher block oil. Can you see the different types of wood?

Installed in my kitchen


If you can tell, the first 3 blocks are white oak, most of the general color stuff is white oak. After that, there is a slightly browner board, that is hickory. Then a quartersawn white oak with some visible medulary rays, a row of dogwood that I milled from a tree we had to take down. The walnut (dark brown) and maple (almost white) rows should be obvious. 

I think this patterned edge grain is a fantastic approach. It stays flat, holds up well under Kelley's cooking. Going to have to replace the rest of the countertops with this stuff

Monday, March 9, 2020

Starting some countertops

Kelley has always hated the ceramic tile countertops that were here when we bought the house 10 years ago. Replacing them.... we got a $1600 quote from Lowe's for granite or quartz. Then I went to the local American Woodyard, they had 16' long 2x6 oak planks for just over $20 each. $104 and I had my countertops ready to be assembled. Butcher block coutertops for the win!

I basically needed 3 sections cut up, well really 4 but one is only about 4" wide. So I had to cut those 16' boards into 8', 4' and 3' sections, roughly picking the best sections out of each board. Those things (whole) weigh about 150 lbs each so it was not easy to move around, and the final assembled products were going to be heavy.

16' board in a 20' shed
this stuff is rough cut coming off of the sawmill. The sawmill guy said people normally use those things for barn framing. I started by squaring the ends, then cutting my sections to length. Then I had to rip those things to a rough width on the table saw and run them through the planer. I needed about 25" wide for the final product with all 5 boards edge glued together. The boards all had to be exactly the same thickness for the glueup to be flat in the end. Needless to say, it made a bit of sawdust

That's all oak planer shavings

Sections are cut, ripped, and planed

Also ran some walnut and cherry though the planer - multicolored shavings! So pretty!


That walnut & cherry lumber as well - future projects
I found out just how green that was at that point - it needed time to dry. I bought it on Dec 6, and planed it down Dec 28 2019. Also during that time I built more than a few beds. We'll pick up the countertops again in 2020