Showing posts with label Kayak. Show all posts

Wednesday, December 29, 2021

Finishing Graduate

 I finally did get all of the epoxy and varnish onto the 12' Wood Duck CLC kayak The Graduate. It cleaned up pretty good, I thought. After we finished, she launched!


Why not put a hole in the boat?


Got the kids out at the launch

No leaks! We're in Lake Raleigh on the NC State centennial campus


She was quite paranoid - and never gets into my boats


Graduate floats and paddles like a dream! She's fast and agile, ready for fishing. I'm going to enjoy this boat for a long time to come.

Friday, November 5, 2021

Glassing Graduate

 Back with more progress on my CLC Wood Duck 12' kayak! Today we need to get the top attached, then fiberglass the outside. After that it's final shaping and epoxy, then apply TotalBoat Lust varnish on the outside and attach the accessories.

Graduate still topless

Ready to for the last stitch & glue operation


Stitched

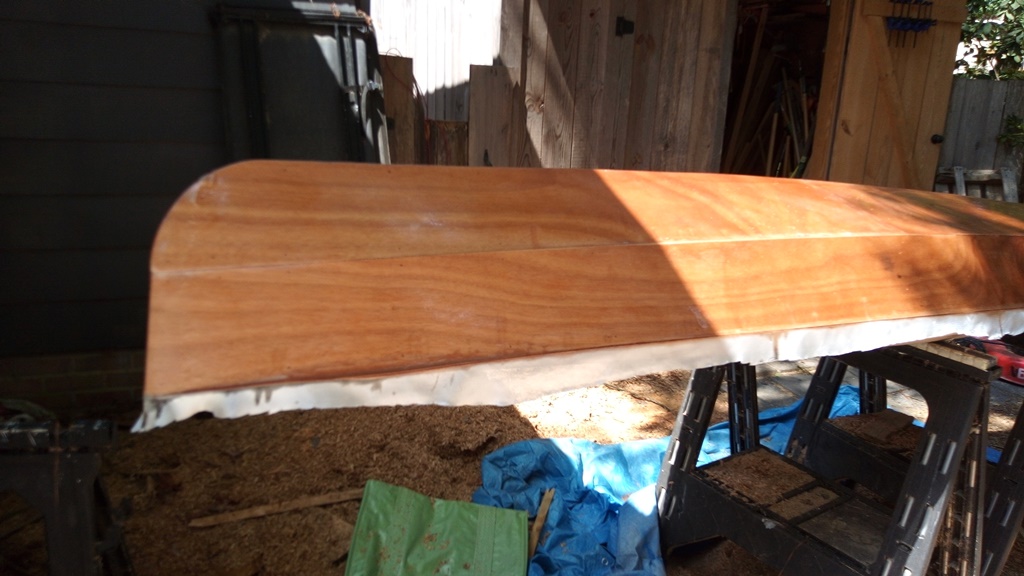
Top is glued on, time to fiberglass the bottom

Amazing how clear the cloth gets when you apply the epoxy


Take special care to overlap the ends

Yes I cut used chopsticks in half and use them to stir my epoxy in used yogurt cups

Trim the excess fiberglass cloth after the epoxy dries


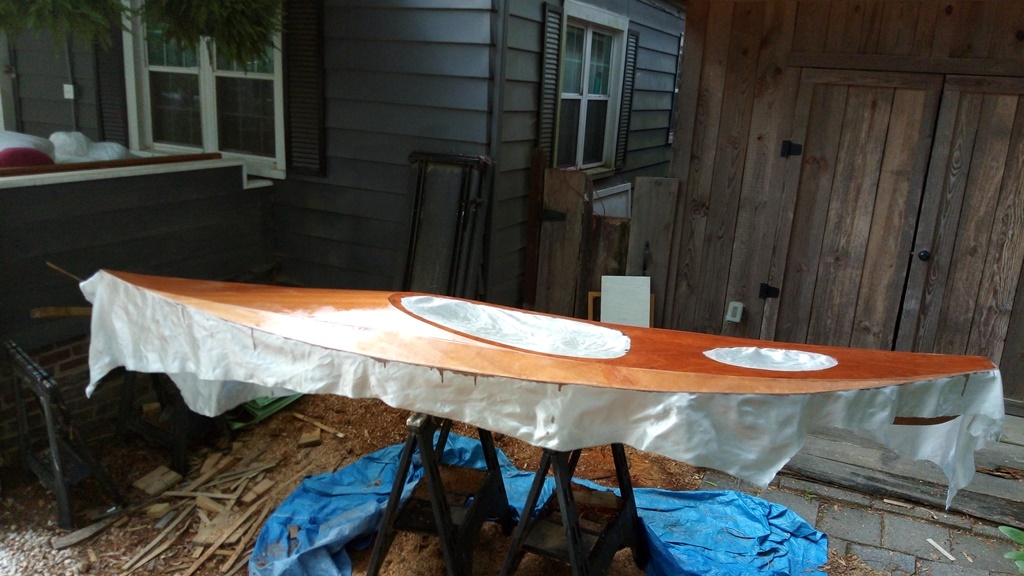
Glass the top without cutting out holes for the hatch & cockpit


I trimmed the excess cloth after the epoxy dried, That did actually create some overlap where the top meets the hull, and that joint became watertight after applying some thickened epoxy anyway. After it was trimmed, this baby was ready for finishing.

Wednesday, September 8, 2021

More Graduate

 After getting the top and bottom fit, it was time to cut out the hatch cover

CLC sends a 78 page instruction book, these things are very well detailed. It's best to use a reciprocating saw with a metal cutting blade in there to prevent tearout.


The rings & templates give me the sizing for the hatch hole

You know how they say you can't have too many clamps?

Epoxy for the inner ring and more clamps


You can still see the copper stitches in there. Should probably do something about that next

Stitches are out, fiberglass tape on the seams and cloth on the center seat


So now the frames are all out, except for the one bulkhead between the main seating area and the covered hatch. First I used a syringe to tack weld epoxy in between the stitches to hold these fragile joints in place. Then pulled out the copper wire stitches and added wood flour (sawdust) to some epoxy to make "fillets", to create a smooth surface over all of the joints. Pressing fiberglass tape and more unthickened epoxy over the fillet creates a watertight seam. Then cover the entire surface with unthickened epoxy, and add fiberglass cloth to the exposed seating area for protection. Finally thicken more epoxy with silica powder (included in the kit) when I need to smooth out some of the fiberglass. 

Next we can join the top to the bottom and start shaping this thing!


Tuesday, September 7, 2021

Graduate Unpacked

 Graduate is the name of a stitch and glue kayak kit I bought myself as a graduation present. I bought it around September 2020, it shipped out closer to December 2020, and now I'm getting to unpack it and start building in April 2021. It's been a while since I built a boat, this should be fun (or very frustrating). 

Stitch and Glue is a special technique. The ultralight 3mm marine grade plywood is cutout with a CNC router, so the computer gets the cuts much more accurate than I could get with a jigsaw. The router also puts small holes in the pieces near the ends. The basis behind stitch and glue is that the pieces are wired together with copper ties first, through the small holes. Then you tack weld the joints between the stitches with epoxy, pull out the stitches and add fiberglass tape and more epoxy to fill the joints completely. The rest is just boatbuilding, attaching the top to the bottom and fiberglassing the hull. It's a strange and cool process, let's see how it works!

The package has panels that have to be joined first

The panels join together with these finger joints

As it ships

Panels are all glued up. Fiberglass tape goes on the inside of the boat


Starting to join the panels together (stitching)


The bottom is the hardest part to get together

The bottom half is stitched up! Those frames establish the shape but they don't end up in the final product, only one called a bulkhead

with the cutest little transom on the back end

Both halfs are stitched


If you look closely you can see the copper wire in there holding the panels together

Cool shape, but I wish the front didn't get that flat spot on top

Starting to look like a boat


I still don't have much epoxy at this point, if any. But seeing how it all comes together is really cool. I got two kinds of plywood in this kit, okumme and sapele for the darker top. It takes a lot of manipulation to get these panels together in the shape you want, and a lot of patience. I wasn't particularly good at this stage, and it showed in the final product. This is still starting to get fun.

My kayak is a Wood Duck 12' from Chesapeake Light Craft. If you'd like to order your own kit here is a link: CLC Wood Duck 12