I did finally get that shed on the Boone land into the dry

 |
| One side looked ok |

 |
| Got it wrapped |


That's a complete roof!
I did finally get that shed on the Boone land into the dry
|
| One side looked ok |
|
| Got it wrapped |
That's a complete roof!

Yep, that's a no trespassing sign right in the middle of what I thought was my driveway. Actually that sign is the corner of my lot, and the property goes downhill from there. So I need to reset my plans for the land, and I still have to finish the shed.
The lot lines slant in a direction that is not parallel with the slope of the hillside. Would have been nice if the realtors would have shown us that. Would have been nice if I could have found a lawyer to sue the realtors after we found this, but nobody would actually file the suit. They are just too busy. it's very frustrating.

This marker shows the actual property line down the hill from my shed. that I clearly built on the neighboring property. SMH
So my wife got accepted into grad school at App State, which is very convenient since I'm building a house in Boone only 10 minutes outside of town. Only thing is, there's no way the house is going to be ready by then. That's my next post. So we ended up buying a townhouse in Banner Elk, about 25 minutes outside of Boone. It's not really a nice enough place for us to AirBNB, but it will give safe shelter while Kelley is in class and gives me a place to stay when I'm building. Plus it's a great escape from the heat. So here's pictures of the townhouse, and now I've got a lot of other projects to build to furnish this thing!

 |
| BR2, those casement windows need to be replaced |
 |
| Upstairs BA |
 |
| Yep, stairs |
 |
| Kiddo is in the closet |
 |
| Bottom of the stairs, door to the back deck |
 |
| Kitchen, mud room |
 |
| Kitchen |
 |
| Nice fireplace |
 |
| This back deck is fantastic, it overlooks the Lowe's across the street |
 |
| I'm going to drink a lot of coffee out here |
 |
| Laundry room |
 |
| Downstairs bathroom |
 |
| The front door, an actual stoop going into the mud room |
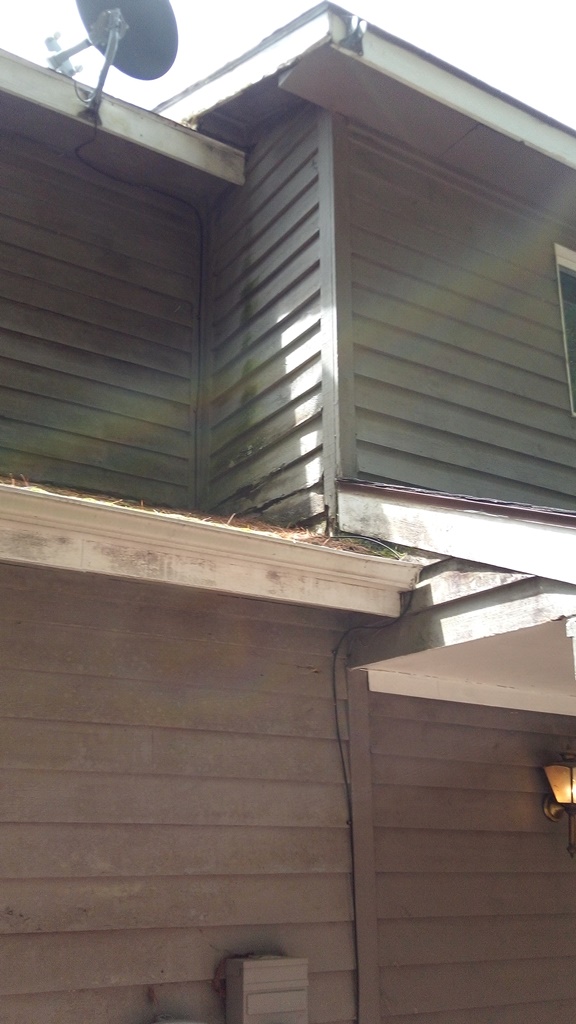 |
| Got a little rotten siding up there |
 |
| The Lowe's across the street feels like home |

I had to finish with a picture of Graduate the kayak because there's not a good place to put this guy.
This townhouse is going to be fun. I have a very hard time with the heat in summertime here, and this is a nice high elevation, it never gets over about 75* up there in the summers. Let the good times roll!
I did get some rain! The tarps held, but wow did it rain. It took me forever to get the tarps down before I could start roofing again. The first thing I had to do was actually take down the ridge beam and set it again so I could get a straighter ridge, then hang the rest of the roof joists.
 |
| Tarp roof is only so good |
 |
| Water testicles hehe |
 |
| The other side |
 |
| After dumping the water and removing the tarps, I reset the ridge beam to the right height and added the rest of the joists |
 |

 |
| Sheeted the gable walls and started the roof |

 |
| Blocking for the overhangs |
 |
| Finished sheeting and added tar paper |

 |
| taped a copy of the house floor plans to the inside of the door |


 |
| Then I took Ella to a movie. we're huge anime fans |
This trip up I got everything ready to shingle, then just ran out of time before I could start. It's starting to look like a shed now! In the dry!
After getting the top and bottom fit, it was time to cut out the hatch cover
CLC sends a 78 page instruction book, these things are very well detailed. It's best to use a reciprocating saw with a metal cutting blade in there to prevent tearout.

 |
| The rings & templates give me the sizing for the hatch hole |
 |
| You know how they say you can't have too many clamps? |
 |
| Epoxy for the inner ring and more clamps |
You can still see the copper stitches in there. Should probably do something about that next
 |
| Stitches are out, fiberglass tape on the seams and cloth on the center seat |


So now the frames are all out, except for the one bulkhead between the main seating area and the covered hatch. First I used a syringe to tack weld epoxy in between the stitches to hold these fragile joints in place. Then pulled out the copper wire stitches and added wood flour (sawdust) to some epoxy to make "fillets", to create a smooth surface over all of the joints. Pressing fiberglass tape and more unthickened epoxy over the fillet creates a watertight seam. Then cover the entire surface with unthickened epoxy, and add fiberglass cloth to the exposed seating area for protection. Finally thicken more epoxy with silica powder (included in the kit) when I need to smooth out some of the fiberglass.
Next we can join the top to the bottom and start shaping this thing!
Graduate is the name of a stitch and glue kayak kit I bought myself as a graduation present. I bought it around September 2020, it shipped out closer to December 2020, and now I'm getting to unpack it and start building in April 2021. It's been a while since I built a boat, this should be fun (or very frustrating).
Stitch and Glue is a special technique. The ultralight 3mm marine grade plywood is cutout with a CNC router, so the computer gets the cuts much more accurate than I could get with a jigsaw. The router also puts small holes in the pieces near the ends. The basis behind stitch and glue is that the pieces are wired together with copper ties first, through the small holes. Then you tack weld the joints between the stitches with epoxy, pull out the stitches and add fiberglass tape and more epoxy to fill the joints completely. The rest is just boatbuilding, attaching the top to the bottom and fiberglassing the hull. It's a strange and cool process, let's see how it works!
 |
| The package has panels that have to be joined first |
 |
| The panels join together with these finger joints |
 |
| As it ships |
 |
| Panels are all glued up. Fiberglass tape goes on the inside of the boat |

 |
| Starting to join the panels together (stitching) |

 |
| The bottom is the hardest part to get together |
 |
| The bottom half is stitched up! Those frames establish the shape but they don't end up in the final product, only one called a bulkhead |
 |
| with the cutest little transom on the back end |
 |
| Both halfs are stitched |

 |
| If you look closely you can see the copper wire in there holding the panels together |
 |
| Cool shape, but I wish the front didn't get that flat spot on top |
 |
| Starting to look like a boat |

I still don't have much epoxy at this point, if any. But seeing how it all comes together is really cool. I got two kinds of plywood in this kit, okumme and sapele for the darker top. It takes a lot of manipulation to get these panels together in the shape you want, and a lot of patience. I wasn't particularly good at this stage, and it showed in the final product. This is still starting to get fun.
My kayak is a Wood Duck 12' from Chesapeake Light Craft. If you'd like to order your own kit here is a link: CLC Wood Duck 12