Now that all of the floor framing is in place and the skeleton is properly buried in there, it's time to buy and lay down some floor. I did some research on this, and for a covered porch it's actually ok to use tongue and groove flooring so you don't have air access to the crawl space! That also means no water gets under the floor. Unlike the deck we built in the backyard, we used 5/4" PT decking with spacers in between the floorboards. For the front porch, I'm keeping it tight!
 |
| Concrete and flooring in the shed |
 |
| Mr Bones is getting entombed |
 |
| Flooring is down! |
 |
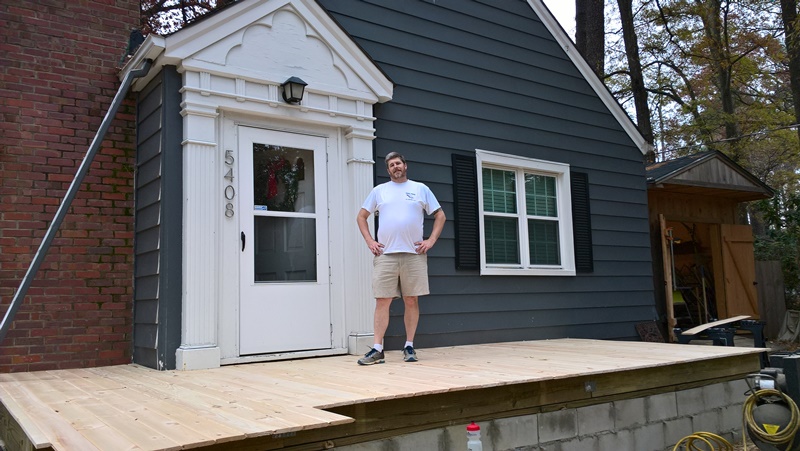
| Finally standing on my floored porch - at the right height! |
 |
| Trimmed up the front of the floor |
 |
| Got some exterior Kilz down as primer |
 |
| cut in some porch paint |
 |
| And the floor is finished painting - for now! |
We ended up going with beadboard! The cheaper grade of beadboard at Lowe's comes in 8' and 12' lengths, we needed about $250 of it to floor the porch. Throw in a gallon of exterior Kilz and a gallon of porch floor paint and we're floored for around $300. The floor paint is neat, there is already polyurethane mixed in with the paint. They had a more expensive version with some non-skid texture already mixed in, but we (read: Kelley) didn't want the textured feel to it, just the protection of the poly mixed in. So this stuff is designed to be outside and protective.
We put the beaded side down and kept the grooves tight. I did have to fill in some of the knot holes with Durham's Water Putty. We nailed down the boards with the finish nailer. I hope that's going to hold up over time. The finished height of the floor came out -exactly- where I hoped it would. Those columns around the front door? I did have to pull off the blocks to get back to the top of the ledger board, but it looks like they went back in the same place.
After digging on this project since August, I am so *freaking* happy to finally have a floor to stand on. This is the first part of the project that will be visible in the finished product. Yes I will have to cut the overhang where brick needs to poke through and touch up the paint there. I will also put a second coat of that paint down at that time too.
Now all I have to do is start working on that brick veneer and the roof.


No comments:
Post a Comment