To keep going with the full size hanging bed, I need to start by cutting the runners to go under the frame, then keep wrapping the oak around the topside to get the look I wanted. I started with a single piece of 8/4 red oak about 7" wide, and ripped 2 straight pieces out of it about 3" wide. Then trimmed to length, put those rounded edges all over the place, finished and installed.
 |
Attached the finished runners to the bottom of the frame
|
After discussion with the client, we settled on a stain and a topcoat, both from Old Masters finishes. I really love Old Masters products. She wanted a warm brown stain on the red oak, and topcoated with Ascend Exterior for a super durable, UV protected finish. I think I used a paint can to get the radius for those ends, drilled a 5/8" hole for the hanging hardware to mount, then ran all of the edges (including the inside of the 5/8" hole) past a 1/4" radius roundover bit on the router. The finished stringers are super clean, I think, functional, and attractive. Now if the rest of the bed turns out this nice.....
 |
Started with the back
|
 |
Added the front angles
|
 |
Built out the arms
|
 |
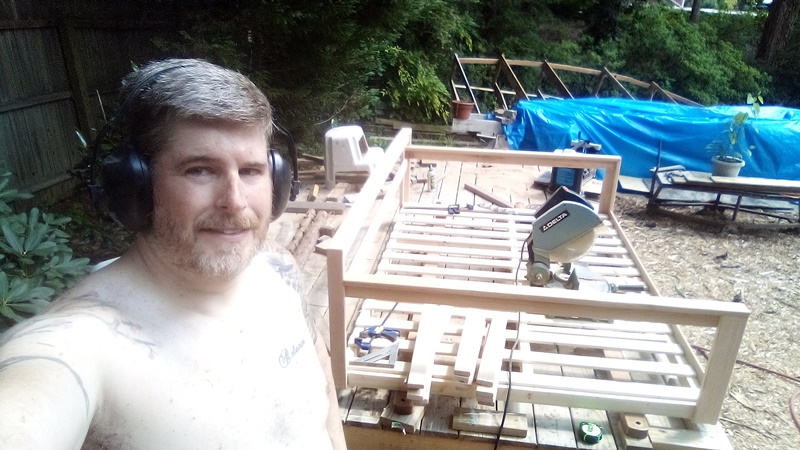
sweaty carpenter
|
 |
The sides start as smaller pieces
|
 |
Storing the bed becomes a challenge in space management
|
 |
Added all of the verticals on the arms and back
|
 |
Added the spacers between the side verticals. Base is now totally wrapped
|
 |
Woodworking is done, time for finish
|
 |
All of the angles to show off the woodworking
|
 |
Of course this is when I ran out of stain and had to go buy more
|
 |
That's better
|
 |
All of the angles to see the finished product
|
 |
Ella usually delivers these things with me, this time we took it to the UPS store
|
 |
How we left it. Destination: Nebraska
|
Building these beds are pretty straightforward. I have a jig for the base, then put the stringers underneath. Wrap the base then with your finished material. I start with rough cut boards that are at least 6" wide. Cutting the boards to length first means you need to identify the component. Start with the corners, the front corners I did 19", the back corners were 21". Then rip a straight edge on the board, and rip to a width usually just under 3" so you get both sides of the corner piece from one cut board. Whatever width you choose, it has to be consistent throughout all of the skinny pieces.
After ripping to width, put the boards through the planer until you get a smooth surface. I use a finish nailer on the air compressor to attach everything from here on out. First join the corner pieces together at exactly a 90* angle. This creates a broad side and a pretty side - the broad side shows the joint, one face and one side of a board, then the pretty side of the corner is just a face. I put the pretty side where you get the most visibility, facing the front for the 19" boards, and facing the side for the rear corners.
Once the four corners are established, you just have to fill in the gaps. An easy place to start is the front, it takes a full board running between the corner pieces. That's the only time you rip a straight edge, then rip a 45* bevel on the other side and use a sander to take the sharp corner off.
Forming the arms and back stars with measuring between the corners and cutting a full board to that length. Then rip two < 3" widths (the exact same width as the corner pieces were) out of that, and plane it smooth. One of those pieces goes on top, and the other goes underneath the first one to make it stable. This "T" configuration adds strength and forms the basis for being able to attach everything else. The arm is exactly the same width as the pretty face of the front corner, so it has to be notched to fit around the pretty face of the back corner. Then the under-piece goes inside of both corners.
After forming the T's for the arms and back, add the vertical pieces. On the sides, I want to maintain a 6" wide piece to cover the frame on both sides. Any wood you have left over after that can be ripped and planed to match the < 3" finished pieces used to form the arms and back. I always have a different amount of board left every time I build these beds, sometimes I have 2 pieces for each side and 1 for the back, this time I got 4 verticals on each side and back. Just be sure the sides have the same number of verticals and put the rest to stabilize the back. Also a long piece on the inside of the back goes a long way to stabilize the back. Fill in with the 6" wide stuff in between the verticals on the sides to finish off the woodworking.
After the carpentry is done it's time for sanding and finishing. It's a lot easier for me to sand with 80 and 120 grit on the belt sander after I put the pieces through the planer but before nailing them into the frame. Then I use a random orbit sander with 180/220/320 grit paper for a super fine look. Apply a stain, I used Old Masters Old American penetrating stain this time, then top coated with Old Masters Ascend Exterior for a rock hard finish. I hit the whole thing with 0000 steel wool between the stain & topcoat as well.
This bed is a really straightforward build, the customer in Nebraska absolutely loved it. The worst part for me was shipping, with a $750 charge UPS made more profit than I did on this one. But these beds are fun to put together, come out beautiful, and really make an impact on your exterior when they are installed.
See my Etsy store for available products


No comments:
Post a Comment